 EN
EN

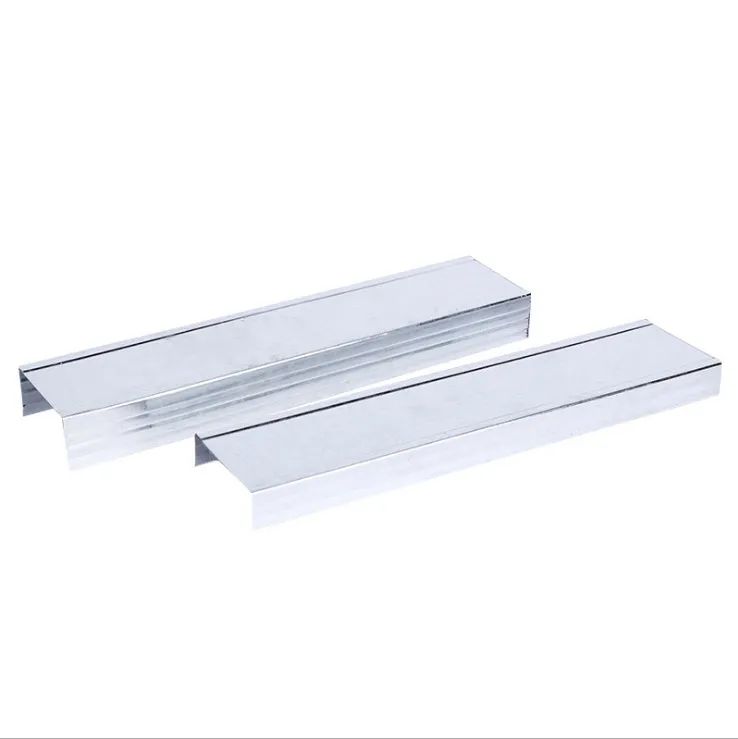
A clean wall-panel job looks simple until the edges, corners, and transitions start to fail. The right wall panel accessories turn a rough install into a sealed, flat, professional surface that holds up for years. Yet buyers often focus on the panels themselves and overlook the smaller parts that decide the result. Sourcing those parts early protects the schedule and the finished look.
A Costly Oversight in a Hotel Renovation
Why Trim and Edging Decide the Finished Look
Trim, edging, and corner pieces are the most visible wall panel accessories on any finished wall. They cover the raw panel edge, hide the substrate, and give the eye a clean line where two surfaces meet. Without them, even a flat panel shows a chipped border that reads as poor workmanship. The selection of profile, width, and colour should follow the panel thickness so the cover sits flush instead of proud. Coordinating trim with the panel face early prevents the late scramble for parts that do not match the batch.
The Rework That Cost Time and Material
During a recent hotel lobby renovation, the contractor ordered panels and adhesive but skipped the corner and transition trim. The panels installed flat, yet every column junction revealed a raw, uneven seam. Guests walking through the space noticed the gaps immediately, and the owner demanded correction before opening. The crew returned to source matching trim, then removed and re-cut sections to fit the new profiles. What should have taken a single afternoon of trimming became three days of rework, plus wasted material. The lesson was clear: the small parts carry the visual risk, and missing them is rarely cheap to fix later.
The Core Components Every Install Needs
Clips and Fixing Systems for Flatness and Alignment
Hidden clip systems hold panels to the substrate while allowing micro-movement, and they rank among the most load-bearing wall panel accessories in the assembly. A quality clip keeps each board at a consistent reveal and stops bowing that shows as waves under raking light. Fixing rails or furring strips give a true plane; panels mounted to an uneven wall telegraph every hump. Align clips on a level grid so the first course sets the line for the rest. Panel flatness should meet ANSI tolerance guidance for wall finishes, staying within a few millimetres over a standard bay. Choose clips rated for the panel weight and the wall type, whether concrete, stud, or block.
Joints, Expansion Gaps, and Movement Control
Building materials move with temperature and humidity, so rigid seams crack. An expansion joint absorbs that movement and keeps the field flat. Leave a calculated gap at the floor, ceiling, and long runs; fill it with a flexible seal or cover it with a dedicated expansion profile. In spaces with radiant heat or large glazed areas, the movement is larger, so the gap must grow. Wall panel accessories such as end caps and movement profiles manage this without breaking the visual rhythm, and they keep the perimeter clean where the panel meets other surfaces.
Adhesives and Sealants for Moisture Resistance
Adhesive choice decides how well panels resist moisture and hold under load. A high-grab construction adhesive bonds the panel skin to the wall; a flexible sealant at wet-area edges stops water tracking behind the face. For PVC and WPC skins, use a compatible polymer adhesive that will not soften the surface. Joint sealant should stay elastic after curing so it moves with the wall. Wall panel accessories for sealing include flexible caulk and colour-matched silicone that protect the seam from moisture. Pair the right adhesive with the clip system so the panel never relies on a single fixing method, and inspect the bond line during the dry-fit.
Specifying the Right Parts
Matching Accessories to Substrate and Panel Type
Not every trim fits every panel. A thick WPC board needs a deeper J-profile than a thin PVC sheet, or the cover will not fully hide the edge. Match the accessory material to the panel — PVC trim with PVC panels, aluminium with rigid cores — so expansion rates agree. On concrete block, use a mechanical fixing behind the adhesive for pull-out resistance. Wall panel accessories should be ordered from the same batch as the panels to avoid shade and gauge differences that show at the seam. A mismatched gauge leaves a thin lip that catches light and reads as a defect.
Procurement Checklist and Site Inspection
Before the order, confirm panel thickness, edge type, and the room's perimeter length for trim quantity. Inspect delivered parts for straightness, consistent colour, and undamaged profiles. On site, follow OSHA 29 CFR 1926 practice for ladder and adhesive handling so the crew works safely while dry-fitting one bay to verify the clip line and reveal before gluing the full wall. Keep a small spares buffer for cuts and damages. Wall panel accessories are low-cost items, yet missing one can stall an entire crew, so stage them beside the panels at the start of the job.
Procurement Takeaways
Plan the accessories before the first panel ships. A practical wall panel accessories list covers trim, clips, joints, adhesive, and sealant sized to the exact panel and substrate. Order from the same batch, dry-fit a sample bay, and keep spares on site. With the right parts staged early, the install stays flat, the gaps stay controlled, and the finish reads as professional from the first course to the last. Maintain a simple log of part codes so future repairs match the original specification.
Frequently Asked Questions
Question
What wall panel accessories are required for a basic install?
Answer: A basic job calls for edge trim, corner pieces, fixing clips, an expansion joint profile, and a compatible adhesive with sealant. Edge trim hides raw borders, clips set the panel line, and the joint absorbs movement. Order these from the same batch as the panels so colour and gauge match. A short starter list prevents the mid-install scramble for missing parts that stalls the crew.
Question
Why do expansion gaps matter behind wall panels?
Answer: Materials expand and contract with heat and humidity, so a rigid seam cracks or buckles over time. An expansion gap lets the panel field move without lifting at the edge or opening a visible line. In rooms with radiant heat or large windows, the swing is greater and the gap must grow. Fill the space with a flexible seal or cover it with a movement profile to keep the wall flat and quiet through the seasons.
Question
How are clips installed to keep panels aligned?
Answer: Clips fix to a level rail or furring grid, then the panel clicks or screws into the clip tongue. Start at a straight reference course so every later row follows the line. Space clips per the panel width and wall height, tighter near corners and openings. A consistent reveal between boards keeps the surface even under raking light. Check the first bay with a long straightedge before fixing the full wall, and adjust the grid if the plane drifts.
Question
Can the same trim work on WPC and PVC panels?
Answer: A single trim rarely fits both. WPC boards are thicker and need a deeper profile to hide the edge, while thin PVC sheets sit in a shallow channel. Matching the accessory material to the panel also controls expansion, since mixed rates crack the seam. Where a project mixes both skins, specify a separate trim per type and confirm the gauge at the sample bay. The small extra planning avoids a visible lip at every transition.
Question
Which sealant suits wet areas near panels?
Answer: Use a flexible, mould-resistant silicone or polymer sealant at seams near sinks, showers, and basements. The seal must stay elastic after curing so it moves with the wall instead of cracking. Choose a product rated for continuous humidity and confirm compatibility with the panel skin to avoid softening. Apply a thin, even bead and tool it smooth for a clean line. A correct seal stops water tracking behind the panel and protects the substrate from hidden damage.