EN
EN

Installation and Maintenance of PVC Wall Panels
Time : 2026-04-02
Thanks to their excellent water- and moisture-resistant properties, ease of cleaning, and diverse range of design styles, PVC wall panels have become an ideal material for both residential and commercial renovation projects. To maximize the service life of PVC wall panels and preserve their aesthetic appeal, proper installation and appropriate maintenance are essential.
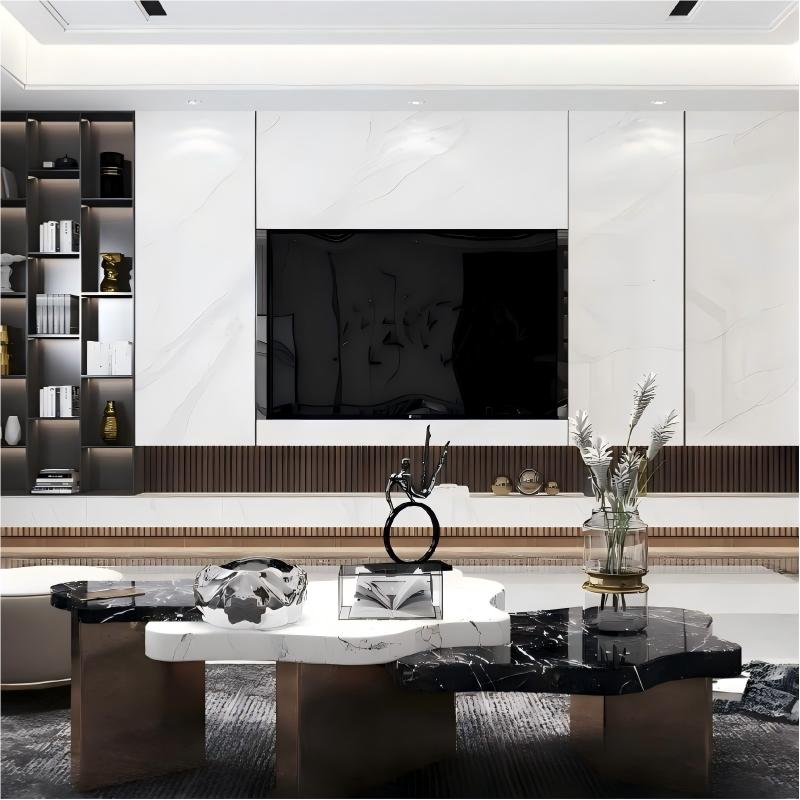
I. Standard Installation of PVC Wall Panels: Laying a Solid Foundation
1. Pre-Installation Preparation
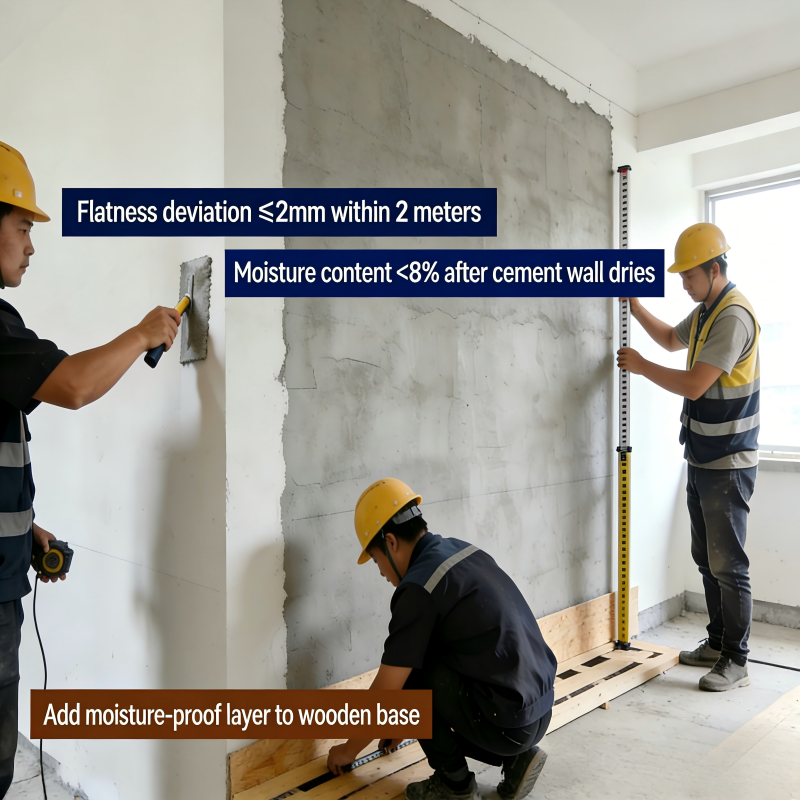
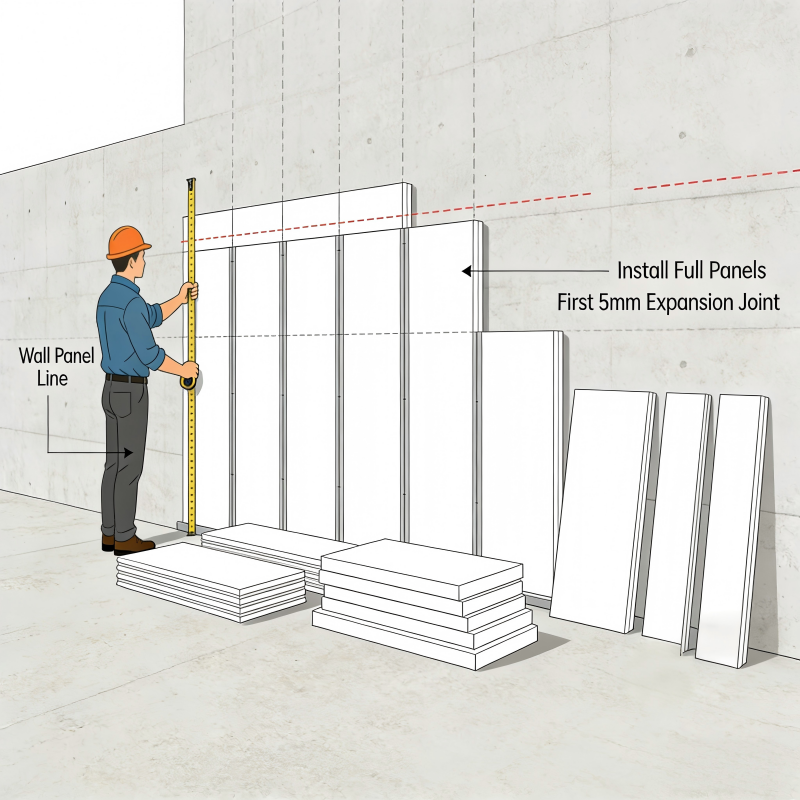
Thorough preparatory work is essential prior to installation. First, the underlying wall surface must be thoroughly cleaned to ensure it is free of dust, grease, and protrusions; furthermore, the flatness deviation within any 2-meter span must not exceed 2 millimeters. For cement or solid masonry walls, allow for adequate air-drying beforehand to ensure the moisture content remains below 8%; for wooden substrates, a moisture-proof layer should be added to prevent panel deformation caused by dampness. Second, gather all necessary tools and auxiliary materials, including a tape measure, infrared level, electric drill, utility knife, scraper, neutral sealant, specialized mounting screws, and adhesive specifically designed for PVC wall panels. Finally, plan the layout scheme based on the wall dimensions and the specifications of the wall panels. Prioritize the installation of full panels to minimize cutting waste; additionally, leave a 5-millimeter expansion gap at internal corners to prevent panel deformation caused by thermal expansion and contraction.
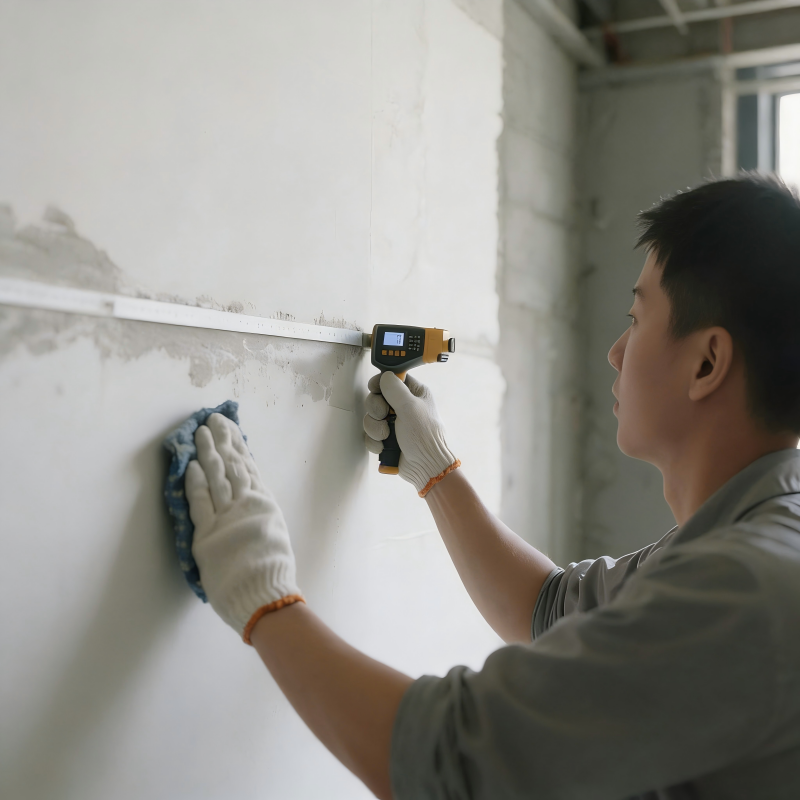
2. Installation Methods
Depending on the specific application scenario, there are currently three primary installation methods:
Adhesive Method:
Suitable for applications where the substrate is level and the panel thickness is thin to medium. Apply a specialized adhesive evenly to the back of the panel and the substrate wall (at a thickness of approximately 3–5 mm); for large-format panels, a spot or strip application pattern is recommended. Allow the adhesive to set for 5–10 minutes until it reaches a "tack-free" or "finger-dry" state before mounting the panel. When mounting, begin from one end or the bottom, pressing from the center outward to expel any trapped air; use wedges or weights to apply temporary pressure and secure the panel for 1–2 hours until the adhesive has fully cured.
Mechanical Fastening Method:Suitable for solid wall structures and thicker panels, this method aims to further enhance installation security and stability. First, use an infrared level to mark the positioning lines for the furring strips (battens) and panels; subsequently, install expansion bolts or wooden furring strips onto the wall surface (spaced at intervals of ≤300 mm). Finally, secure the panels to the furring strips using self-tapping screws (ensuring the screw heads are countersunk approximately 0.5 mm below the panel surface). Adjacent panels are connected via interlocking clips, ensuring that the joint gap is maintained within a tolerance of ≤0.3 mm.
Furring Suspension Method:Suitable for large-scale commercial spaces where extremely high standards for wall flatness are required. First, install vertical furring strips (spaced at ≤400 mm) and horizontal furring strips (spaced at ≤600 mm); additional reinforcement strips must be installed around door and window openings (within 150 mm of the edges). Subsequently, secure the panels to the furring framework using screws or clips. Finally, complete the overall surface finishing by installing internal and external corner trim pieces, as well as skirting boards.
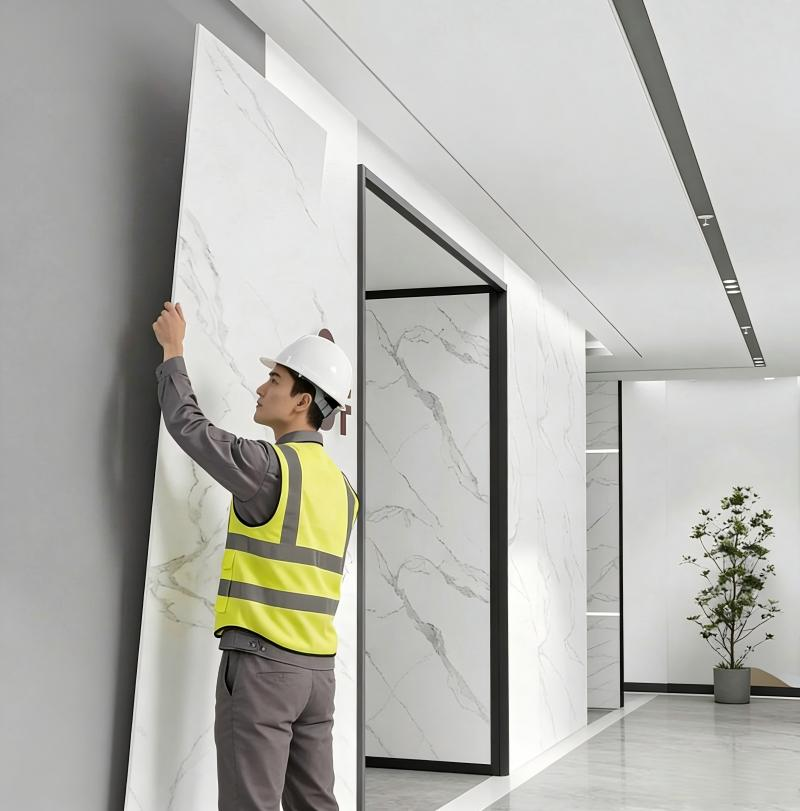
3. Installation Precautions
Use a utility knife or cutting machine to cut the panels, ensuring that the cut edges are straight (with an allowable deviation of ±1 mm); for decorative panels, ensure that the patterns are aligned. The ambient temperature during installation should be maintained between 5°C and 35°C to prevent thermal deformation. Installed panels should be covered with a protective film to prevent scratches or contamination during subsequent construction activities.
II. Maintenance of PVC Wall Panels: Extending Service Life
1. Routine Cleaning
Routine maintenance for PVC wall panels is simple and straightforward. Once a week, use a feather duster or a soft cloth to remove dust from the surface; for high-up wall areas, use a long-handled tool, and for crevices, use a soft-bristled brush. To address everyday stains, dilute a neutral detergent (pH 6–8) with warm water at a ratio of 1:10. Use a soft cloth or sponge to wipe the surface along the grain of the wall panels, then immediately wipe it dry with a clean, dry cloth to prevent moisture from accumulating in the seams. For stubborn stains—such as grease or ink marks—first dampen a soft cloth with detergent and allow it to soak for a moment before gently wiping the area. If you need to use a specialized plastic cleaner, be sure to perform a small-scale test in an inconspicuous area first to avoid causing corrosion to the wall panel surface. Never use steel wool, stiff-bristled brushes, or abrasive scouring pads for cleaning.
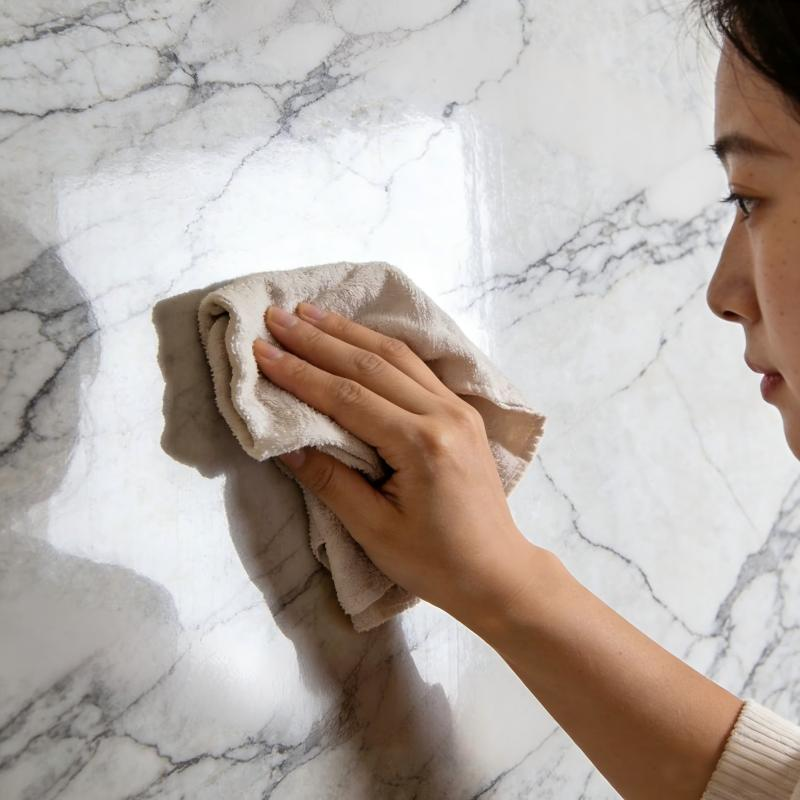
2. Routine Maintenance
Inspect the seams, fasteners, and corners of the PVC wall panels quarterly for any signs of looseness, cracks, or detachment. Loose seams should be resealed with a neutral sealant, while loose fasteners should be retightened. In high-humidity areas (such as bathrooms and kitchens), ensure adequate ventilation to prevent discoloration and mold growth on the PVC panels. Avoid direct sunlight exposure to prevent aging and yellowing; for high-end applications, it is recommended to apply a transparent coating containing nano-zinc oxide (ZnO) to effectively block ultraviolet radiation. Never drag sharp objects across the panel surface, nor place high-temperature items directly onto the wall panels.
III. Common Issues and Solutions
Yellowing caused by exposure to sunlight or strong alkaline cleaning agents can be resolved by reducing sun exposure, applying a UV-resistant coating, or replacing the panels. Cracks in the joints resulting from a failure to leave adequate expansion gaps require resealing with sealant or replacing the affected panels. Scratches on the panel surface can be removed by sanding with fine-grit sandpaper or by replacing the panels. If panels become detached, adhesive should be reapplied, and the fasteners should be tightened.
Proper installation and maintenance are essential for maximizing the performance and service life of PVC wall panels. We provide high-quality products and technical support to ensure the success of your installation project.