 EN
EN

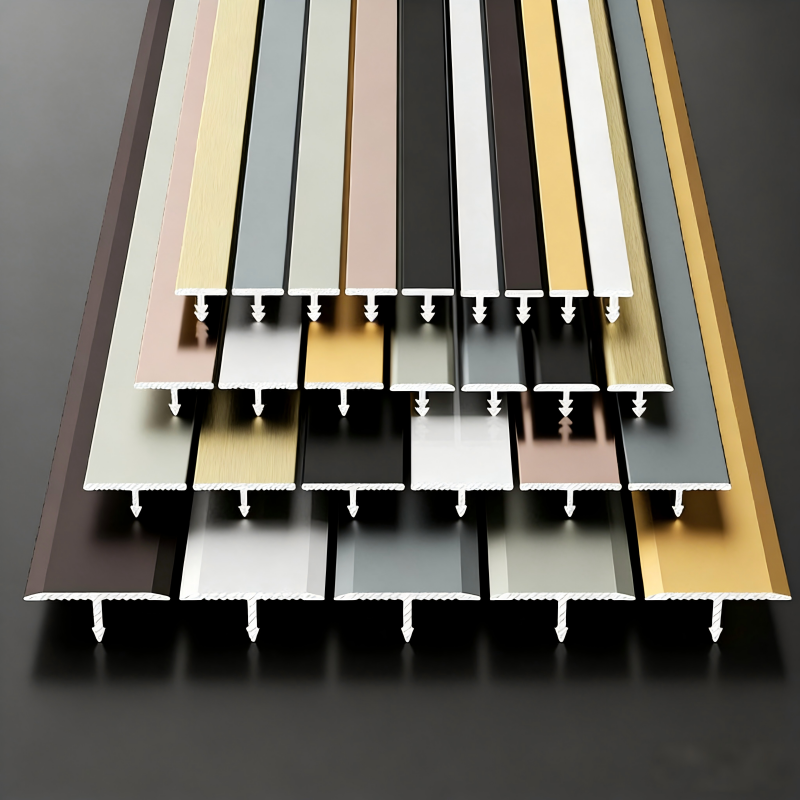
Achieving a polished look in any wall paneling project involves more than just mounting the panels; it is about how you finish the edges. Many DIY enthusiasts and even junior contractors underestimate the importance of wall panel accessories. These components, including trims, corners, and end caps, are essential for structural stability. They provide the necessary tolerance for material expansion and contraction, which is a fundamental requirement for long-term durability. Skipping these parts or using them incorrectly often leads to visible gaps and structural fatigue.
Professional Preparation: The Secret to Success
Before starting your installation, the condition of the sub-wall is paramount. A professional installer never skips the leveling process. Using a laser level to mark your reference points for wall panel accessories is a standard industry practice to avoid "runaway" lines. When cutting your trims, always use high-quality, fine-tooth blades to ensure the edges remain clean. If your wall has slight undulations, do not force the trim to fit; instead, use shims to ensure a perfectly flush surface. This technical precision is what differentiates a high-end commercial project from a basic setup.
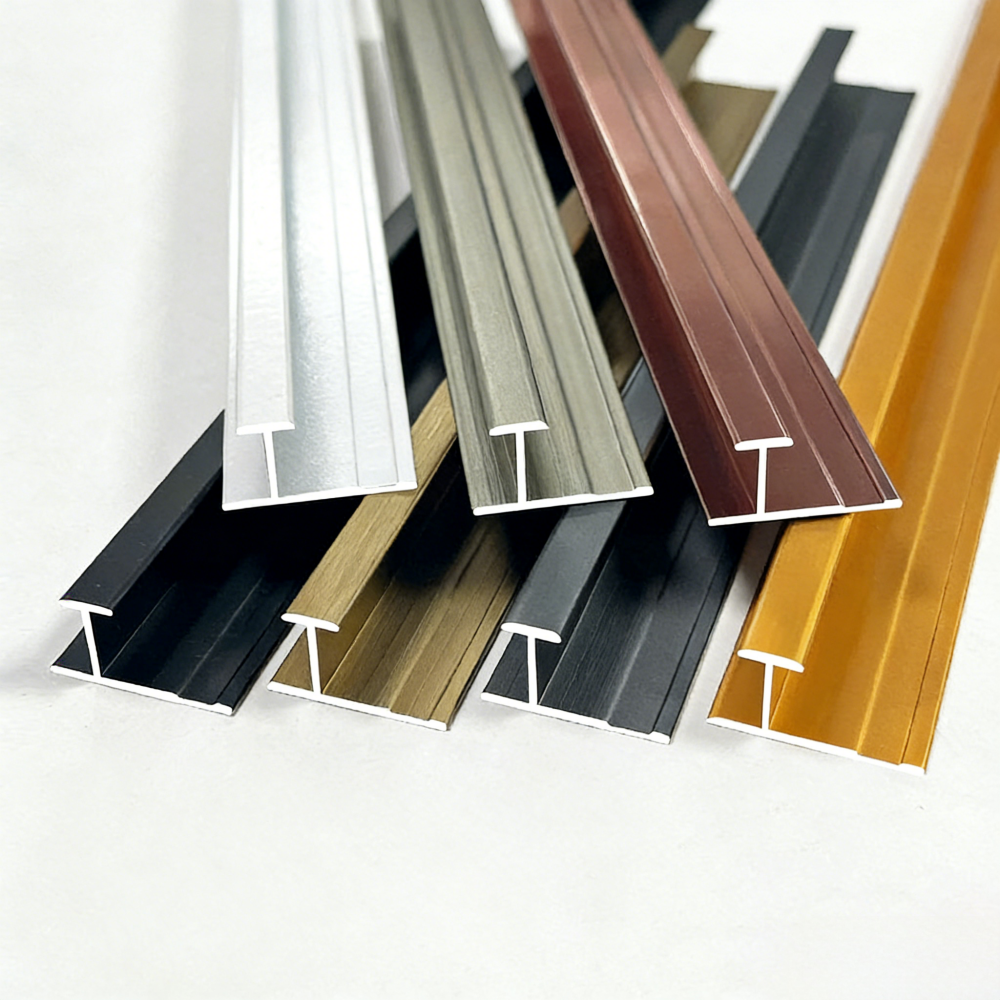
Understanding Your Wall Panel Accessories
Selecting the right profile for your design is crucial for both aesthetics and functional longevity. Use the following guide to identify the best accessory for your specific construction needs.
| Accessory Type | Primary Function | Best Used For |
| L-Trim | Edge finishing | Perimeter, door frames, window openings |
| H-Joint | Panel transition | Creating long, continuous wall runs |
| Inside Corner | 90-degree internal angle | Intersecting wall corners |
| End Cap | Edge sealing | Terminating panel edges cleanly |
Installation Techniques That Prevent Common Failures
One of the most frequent technical errors is over-tightening fasteners. Because wall panels and their associated wall panel accessories are subject to thermal expansion, they must have room to "breathe." We recommend a combination of high-grade construction adhesive and minimal mechanical fasteners. By maintaining a 2-3mm gap behind the trim, you prevent the cracking and warping often seen in improperly installed projects. For moisture-prone environments, such as kitchens or bathrooms, a bead of silicone sealant along the trim joints provides an essential layer of protection.
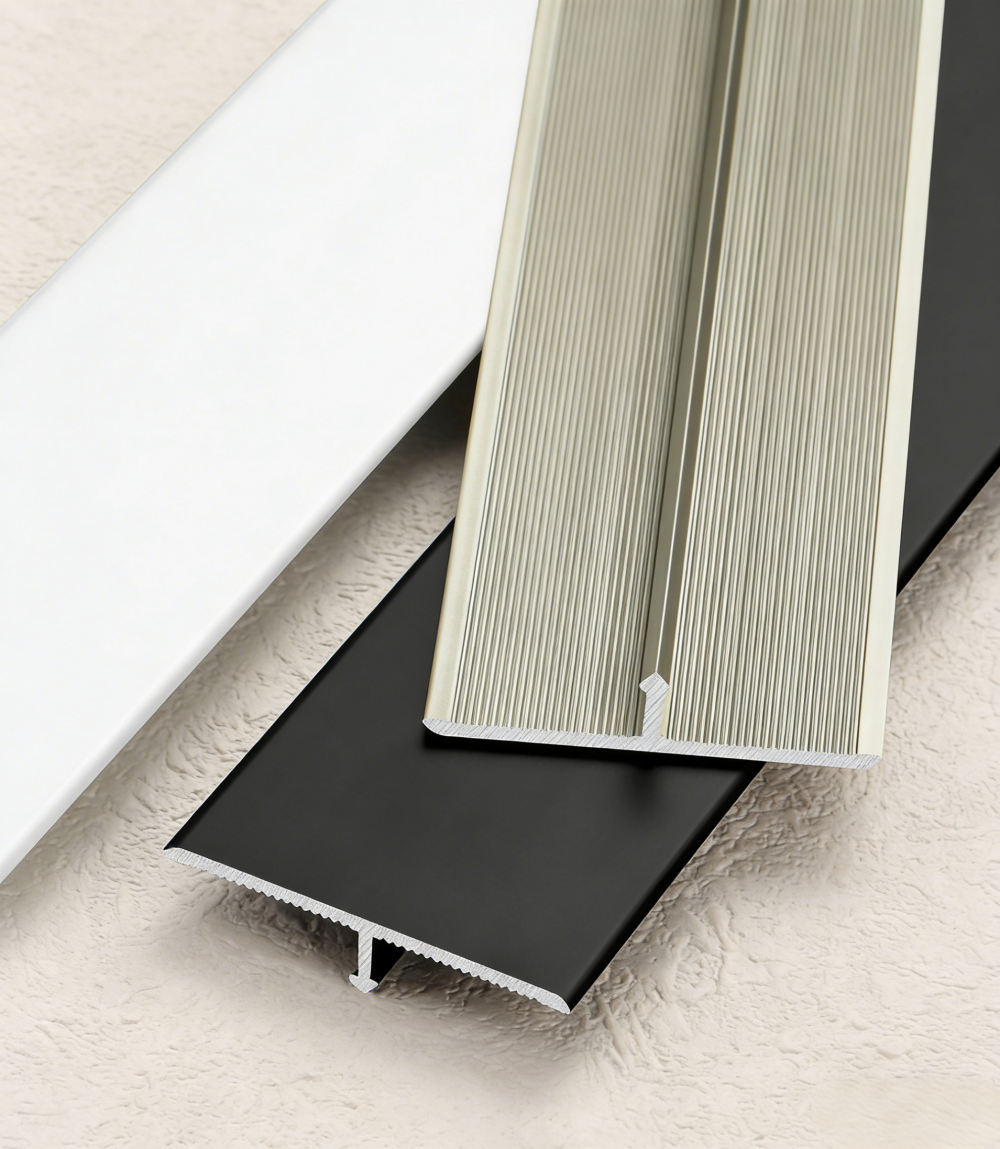
Troubleshooting Frequent Installation Pitfalls
Even experienced teams face challenges during assembly. Below is a breakdown of common issues and how professional installers solve them.
| Challenge | Root Cause | Professional Fix |
| Gaps at Corner Joints | Unsquare corners | Use an adjustable miter gauge |
| Trim Lifting | Over-fastening | Use clips and adhesive for flexibility |
| Wavy Finish | Uneven sub-wall | Use shims for a flat mounting surface |
Leveraging Quality Sourcing for Long-Term Value
The quality of your installation is only as good as the materials you use. Naturwing has built a global reputation for manufacturing high-performance wall systems and precise wall panel accessories. As a direct factory manufacturer, Naturwing ensures that every component is extruded to exact tolerances, which significantly simplifies the installation process. By controlling the entire supply chain, Naturwing guarantees consistency in color, texture, and structural compatibility. Partnering with a manufacturer like Naturwing provides project owners with the technical confidence that their installation will remain stable and aesthetically superior for years to come.